YOLO Models from Ultralytics#
Introduction#
You Only Look Once (YOLO) is a series of real-time object detection systems based on convolutional neural networks. The first version was introduced in 2015, and the latest version(YOLO26) was released in early 2026. Through the decade, it was widely implemented in object detection, instance segmentation, pose estimation, face detection, etc.
In recent days, the latest models have been distributed through Ultralytics’ Python package. In this tutorial, we will work on the officially distributed model, YOLOv8n, one of the most used detection models that Ultralytics launched.
Model Preparation#
Before downloading Ultralytics’ model, install their PyPI distributed package as follows:
pip install ultralytics
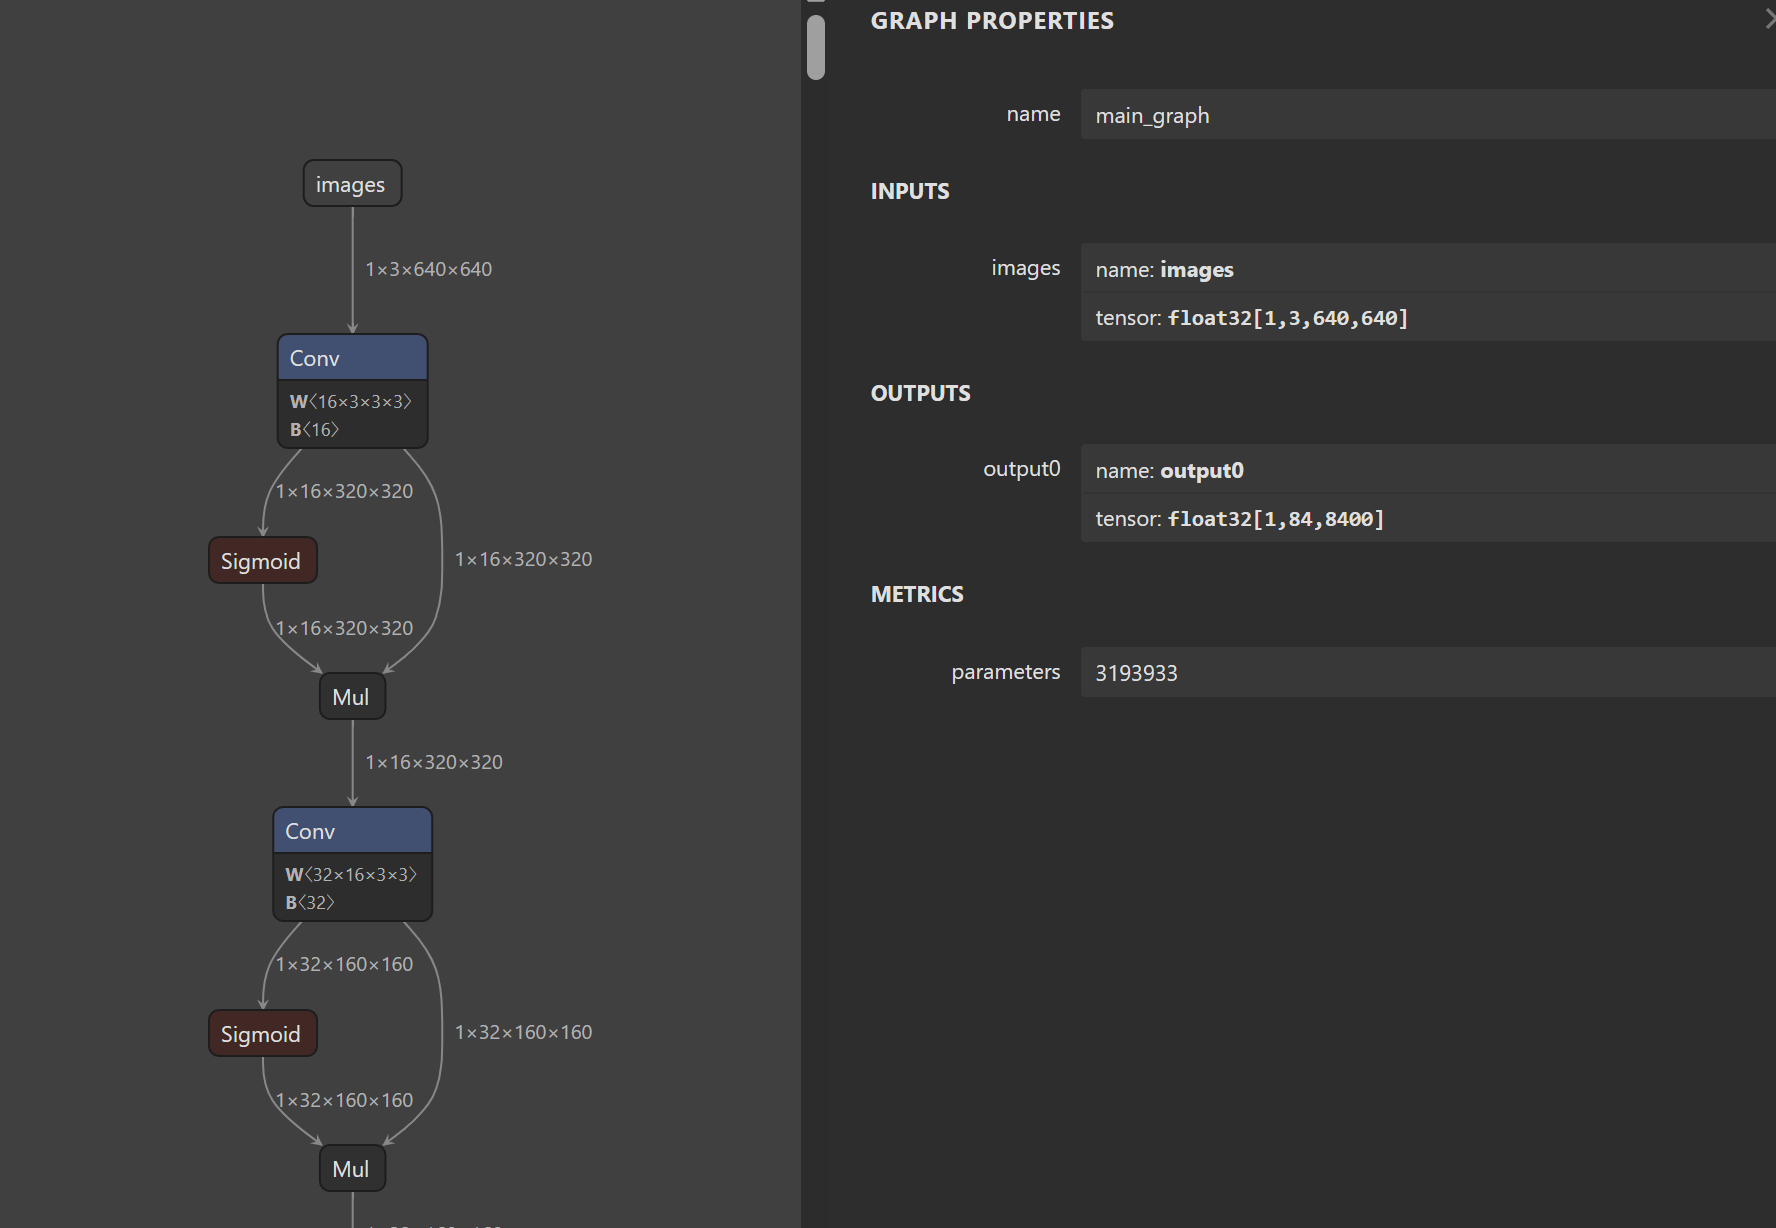
Then, download the model with the following CLI command. Since we decided to use image shape (640, 640), the default image size, we don’t need extra parameters to adjust the model.
yolo export model=yolov8n.pt format=onnx
Calibration Dataset#
The object detection and instance segmentation models are usually trained with COCO dataset. Therefore, it is recommended to use images that are similar to the image dataset used in training. For this tutorial, Mobilint’s engineers extracted 100 images from COCO’s training dataset for calibration.
Preprocess may vary by the version of YOLO models. Due to this reason, preprocessing functions may not be constructed by combining pre-defined operations on the qbcompiler’s calibration tool. Therefore, in this tutorial, we will use the calibration function with custom preprocessing code published on Ultralytics GitHub.
import cv2
import numpy as np
from qbcompiler.calibration import make_calib_man

img_size = [640, 640] # or [1280, 1280]

def preprocess_yolo(img_path: str):
    img = cv2.imread(img_path)
    img = cv2.cvtColor(img, cv2.COLOR_BGR2RGB)

    h0, w0 = img.shape[:2]  # original hw
    r = min(img_size[0] / h0, img_size[1] / w0)  # ratio
    new_unpad = int(round(w0 * r)), int(round(h0 * r))
    dh, dw = (
        img_size[0] - new_unpad[1],
        img_size[1] - new_unpad[0],
    )  # wh padding

    dw /= 2  # divide padding into 2 sides
    dh /= 2
    if not (img.shape[1], img.shape[0]) == new_unpad:
        img = cv2.resize(img, new_unpad, interpolation=cv2.INTER_LINEAR)
    top, bottom = int(round(dh - 0.1)), int(round(dh + 0.1))
    left, right = int(round(dw - 0.1)), int(round(dw + 0.1))
    img = cv2.copyMakeBorder(
        img, top, bottom, left, right, cv2.BORDER_CONSTANT, value=(114, 114, 114)
    )  # add border
    img = (img / 255).astype(np.float32)

    return img


make_calib_man(
    pre_ftn=preprocess_yolo,  # callable function to pre-process the calibration data
    data_dir="/workspace/calibration/train2014_calib", # path to folder of original calibration data files such as images
    save_dir="/workspace/calibration/", # path to folder to save pre-processed calibration data files
    save_name="yolov8n_cali",  # tag for the generated calibration dataset
    max_size=100,  # Maximum number of data to use for calibration
)
Compiling Models#
Once the calibration dataset and model are prepared, the user can compile the model as follows.
""" Compile YOLO """
from qbcompiler import mxq_compile
onnx_model_path = "/workspace/yolov8n.onnx"
calib_data_path = "/workspace/calibration/yolov8n_cali"

mxq_compile(
    model=onnx_model_path,
    calib_data_path=calib_data_path,
    quantization_method=1, # per channel quantization
    quantization_mode=1, # max percentile quantization
    percentile=0.999,
    quantization_output=1, # per channel quantization for the output layer
    save_path="yolov8n.mxq",
    backend="onnx"
)
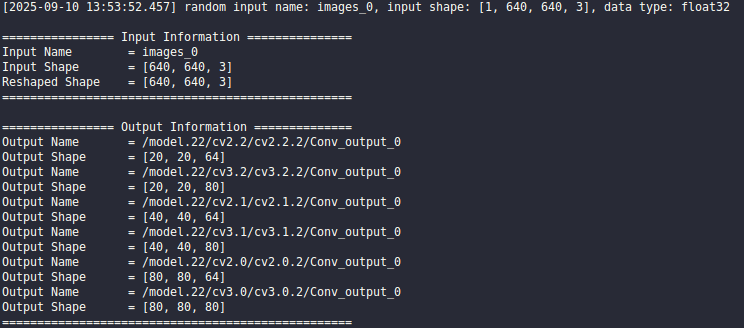
One thing to remark is that some post-processing operations of YOLO models may not be supported on NPU or may have low accuracy, therefore qbcompiler automatically truncates the model on that part. Hence, the user should be aware of the truncation position to complete the task. Mobilint provides examples dealing with these truncated models on Mobilint Model Zoo.